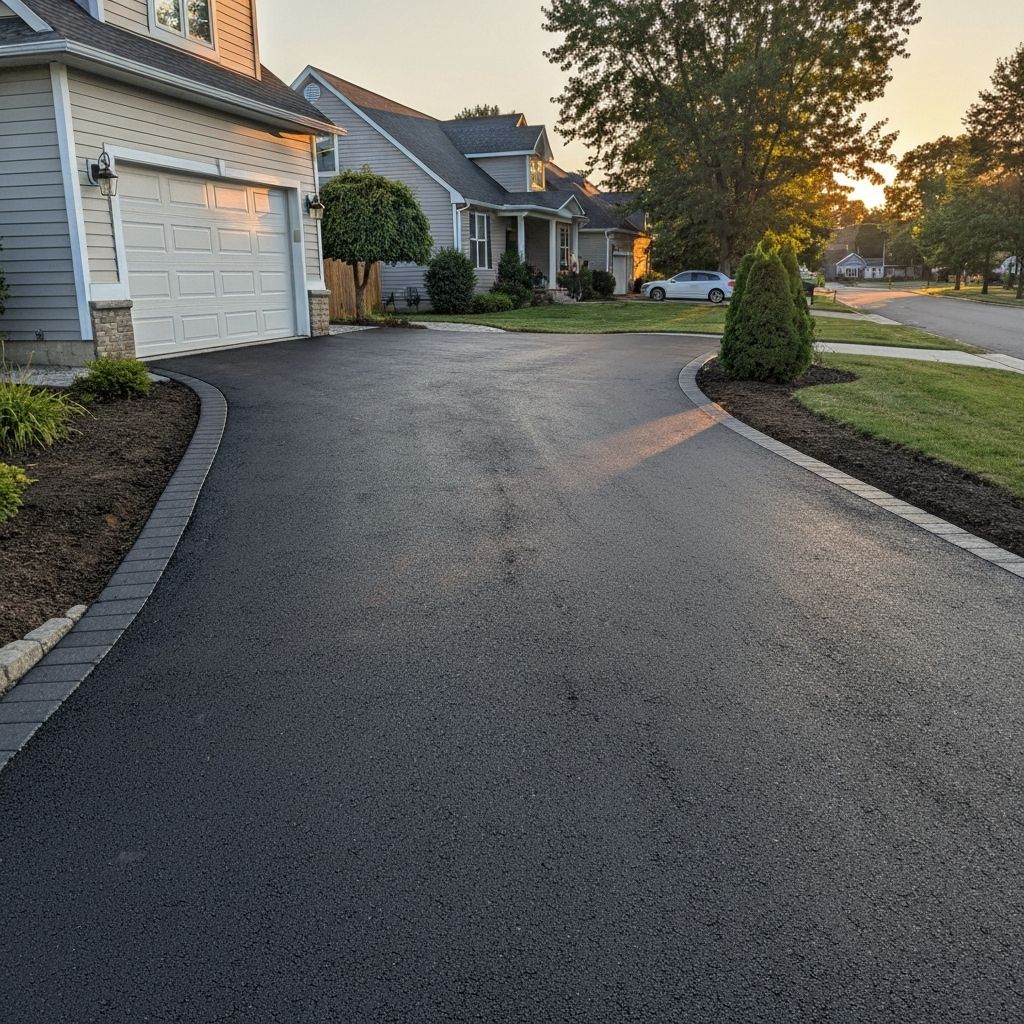
Crack Repair Checklist
A step-by-step checklist for evaluating and addressing cracks in your asphalt surfaces.
Assess Crack Types
Walk your entire driveway and identify crack types. Linear cracks run in straight lines and are often cosmetic. Block cracks form rectangles and indicate aging. Alligator cracking (interconnected patterns) signals base failure. Edge cracks along borders show structural stress.
Different crack types require different repairs. Linear cracks are easily filled DIY. Alligator cracking needs professional base repair. Proper assessment prevents wasted effort on inappropriate solutions.
Measure Crack Width and Depth
Categorize cracks by width: hairline (1/8 inch or less), small (1/8 to 1/2 inch), or large (over 1/2 inch). Check depth by probing with a screwdriver. Shallow surface cracks differ from deep cracks that extend into the base.
Width and depth determine the appropriate repair material. Hairline cracks may only need sealcoating. Medium cracks need crack filler. Large cracks require cold patch or professional repair.
Clean the Cracks Thoroughly
Remove all vegetation, dirt, and debris from cracks before filling. Use a wire brush, screwdriver, or compressed air. For best adhesion, cracks should be clean and dry. Allow wet cracks to dry completely before repair.
Filler materials need clean surfaces to bond properly. Debris or moisture in cracks prevents adhesion, and repairs fail quickly. Proper cleaning is 50% of a successful repair.
Choose the Right Repair Material
Hairline cracks: quality sealcoat covers them. Small cracks: liquid crack filler (pour or squeeze bottle). Medium cracks: rubberized crack filler (caulk tube). Large cracks and holes: cold patch asphalt. Extensive damage: professional hot pour or overlay.
Using the wrong material leads to failed repairs. Liquid filler in a wide crack shrinks and cracks. Cold patch on small cracks is overkill and won't look right. Match material to problem.
Apply Material Properly
Fill cracks from bottom up, slightly overfilling to allow for settling. For cold patch, compact firmly with tamper or car tire. Allow proper cure time before traffic—usually 24-48 hours for fillers, longer for cold patch.
Proper application ensures longevity. Underfilled cracks reopen quickly. Uncompatected patches settle and crack. Premature traffic creates tire marks and compromises repairs.
Plan for Prevention
After repairs, schedule sealcoating to protect the entire surface. Address drainage issues that direct water toward your driveway. Set a calendar reminder to inspect and maintain cracks annually in spring.
Repairs buy time, but prevention extends surface life. A comprehensive maintenance plan that includes crack repair, sealcoating, and drainage management maximizes your driveway investment.
Need Help With Your Asphalt Project?
Our experienced team can inspect your property and provide a free, no-obligation estimate.
Related Resources
Asphalt Driveway Maintenance Guide
Keep your asphalt driveway in top condition with these maintenance tips and schedules.
Signs Your Asphalt Needs Repair
Recognize the warning signs that your asphalt driveway or parking area needs attention.
Seasonal Home Maintenance Checklist
A comprehensive guide to keeping your home exterior in great shape throughout the year.